

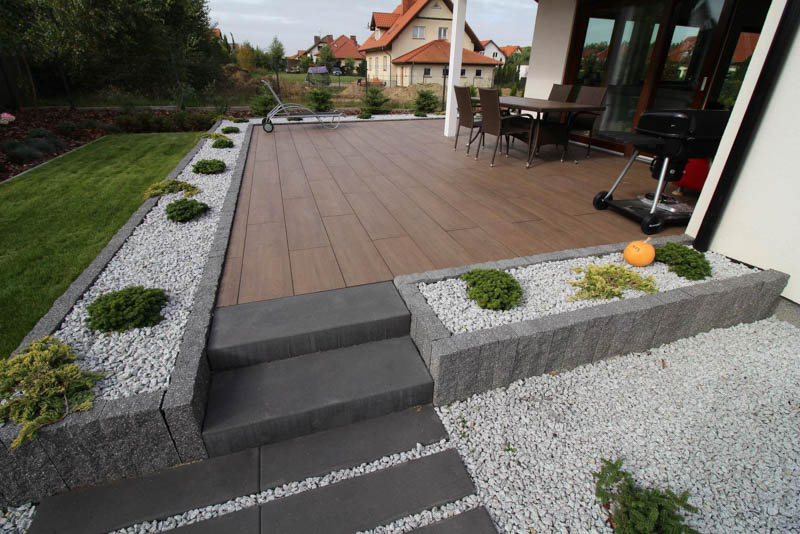
Creating a roof terrace on a flat roof is getting more popular, but so is outdoor areas- either with a small landscape architecture or near your house, this kind of project are worth considering. If you want to create a building construction on the ground level with terrace - you've come to the right place.
There are two methods of creating terraces- traditional (bonded) and raised (elevated). In this article we will focus on the second one, since it is much more faster and efficient.
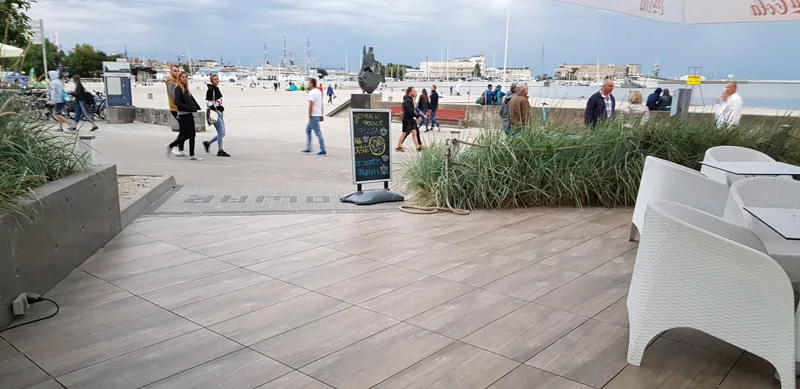
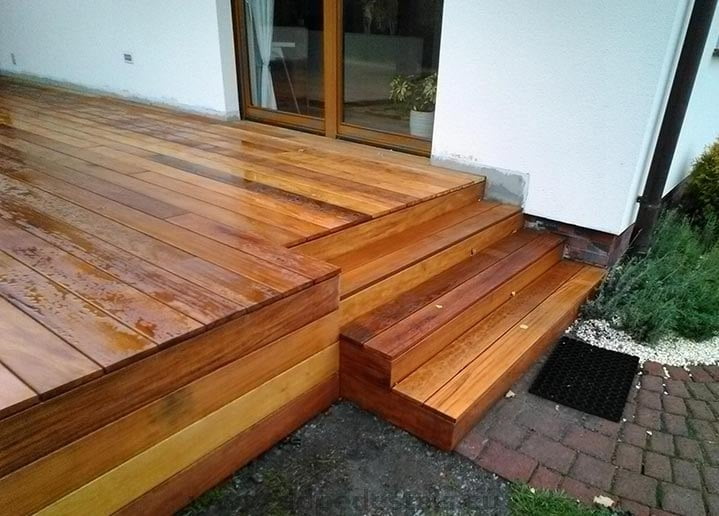
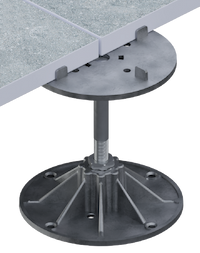
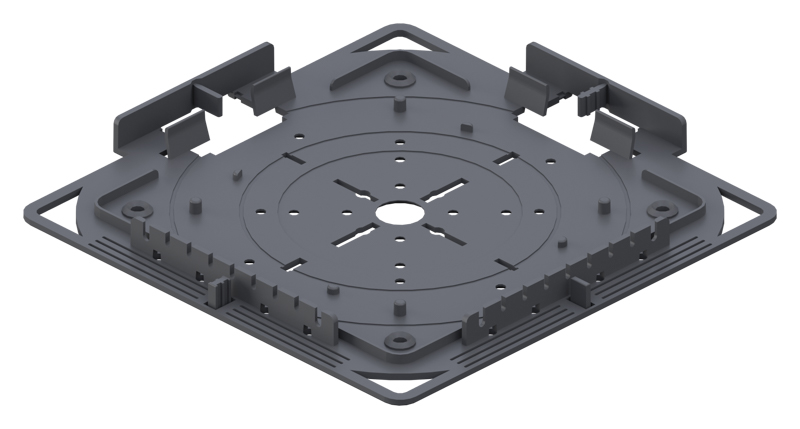
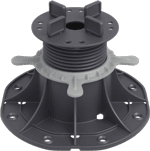
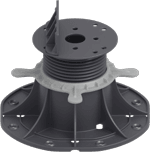
This is a known solution for years, it was even used in a historic architecture. The system involves raising the floor to the required height, while leaving a void underneath. The finished surface (with pavers,tiles or decking on joists) is raised by adjustable pedestals. This system has a lot of advantages, such as not having to connect the elements together permanently, or with glue. Thanks to their features and compatibility, it's often used on balconies, roof terrace, patios and more.
The floor surface is flat because the water drainage is hidden underneath - the water runs quickly down the slope into the terrace gravel.
All fixtures can be hidden in the space underneath the terrace surface - it is easy to add a few light points as the electrical installation can be easily concealed
It is easy to clean - there is no need to scrub the joints between the tiles (in traditional terraces, the outdoor paving is usually very dirty due to staining water)
Thanks to the elevation technique, the terrace elements are much more durable
Raised terraces can be finished with almost anything you want - ceramic tiles, stone, concrete or a decking board of your choice
No need to join the elements permanently - there is no need to glue the tiles to the substrate, so in case of any damage, it is very easy to replace one element
Shorter installation time (no glueing= no waiting time)
What is the type of area You are creating- is it either a landscape element, small patio, house terrace, commonly used area, driveway or maybe something else?
How load-bearing the structure should be? Is it public space or private?
How much time can You can spend on cleaning and securing the material (for example with natural wood there is much more work than with tiles or wpc decking)
What is the style of your surrounding? Will the choosen colour match with the designs of the whole area (also remember about the sun exposure- will the material maintain it's colour)? Are those material combination going to look good?
When choosing between wood, aluminium and composite joists, it is worth paying attention to their technical properties. Likewise, when deciding on pavers or tiles, be sure that they are the product of a reputable manufacturer and that their thickness allows for laying on pedestals. As there are many products on the market, it is always advisable to read the parameters that determine their intended use and that will meet our requirements for the terrace surface.
If you are not using any kind of concrete blocks, columns, or screed, the easiest, most simple and secure way of creating terraces, is laying it on gravel. In garden we mostly have different types of materials that are unstable, so creating a deck on them can lead to external changes of appearence or destrucion over time (moving edge, tilt flagstones etc.). Here is how to create a terrace in your garden space on gravel:
You have to have a plan, so after starting work, you do not need to wonder about the layout of the structure. Your have to know what type of products your deck consists. Take into account on what distance the elements should be supported, where is the starting flagstones and with material will suit designs of architecture or your garden (natural stone, or more modern- concrete slabs?). Plan the layout so that only a small number of pavers need to be cut, or so that no small fragments are left behind.
Regardless of whether the surface of our ground is grass or sand, we need to prepare the substrate properly for adding gravel. The construction of the terrace should begin by removing the top layer from the space where deck is planned.
From the ground level we remove the turf/ sand/ grass to a depth of ~3-5 cm below the planned slab/joist to pour gravel there. We need to measure the total thickness of the outdoor paving/decking. For example, if we have patio slabs that are 2 cm thick we remove the soil from 5-7 cm deep.
When the substrate is ready we add gravel on it.
NOTE: We suggest buying two thicknesses of gravel. The coarse grains should be placed on the bottom and the finer grains on top.
This solution allows for proper compaction and easy laying of the slabs, without the need for additional compaction with special machines. Thanks to this solution that water will not stand on the surface of the slab. The gravel between the adjacent stones collects water, which will soak into the ground over time.
Remember that a lot of rainwater accumulates during heavy rainfall. And the thicker the gravel layer, the more water can accumulate in greater amounts.
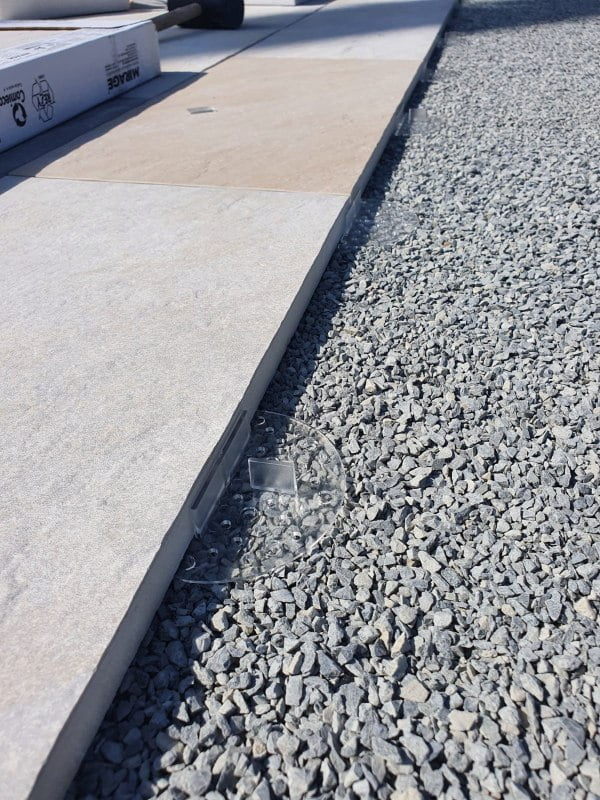
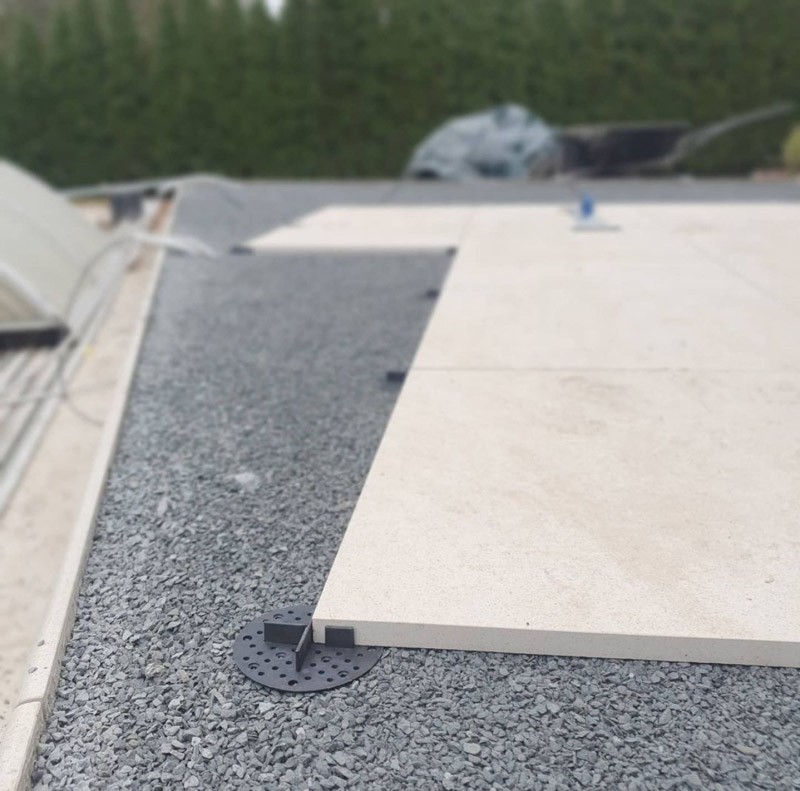
After adding gravel, we should have a still structure, on which we can lay the support pads.
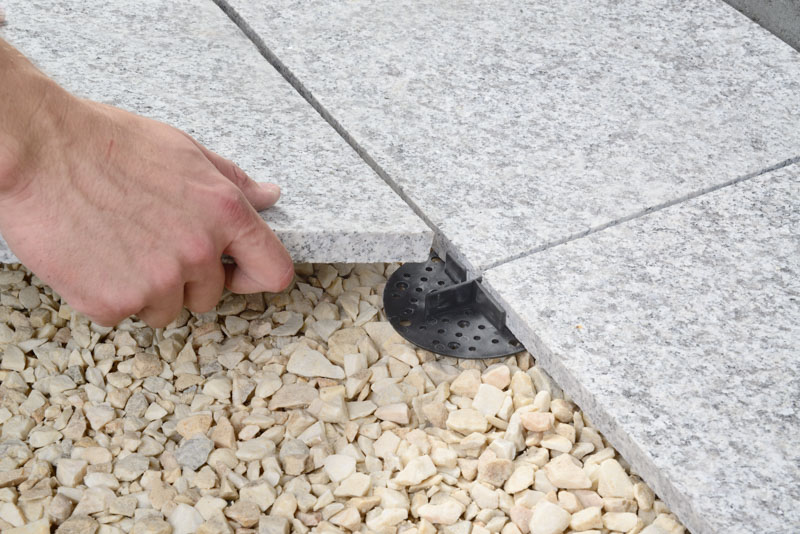
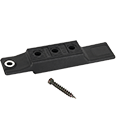
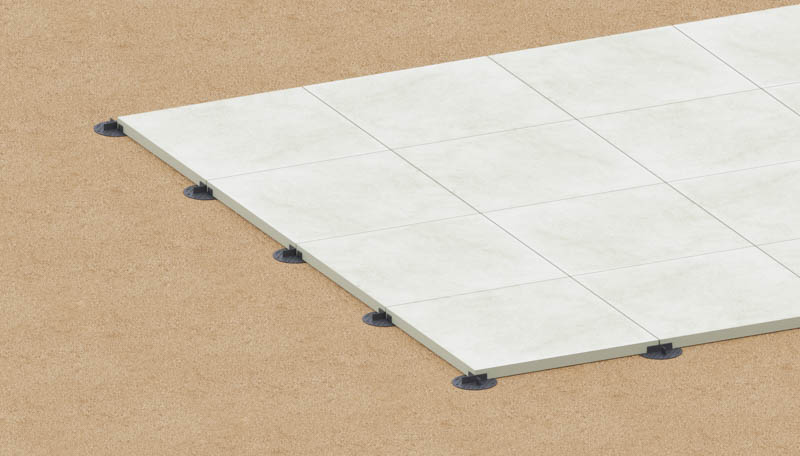
With any type of tile, it is easy, as all you have to do is lay them on the terrace supports or shims. Planks/boards, on the other hand, have to be screwed or clipped onto the structural joists, so the installation is definitely more time-consuming.
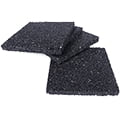
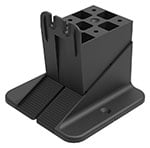
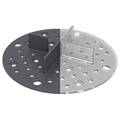
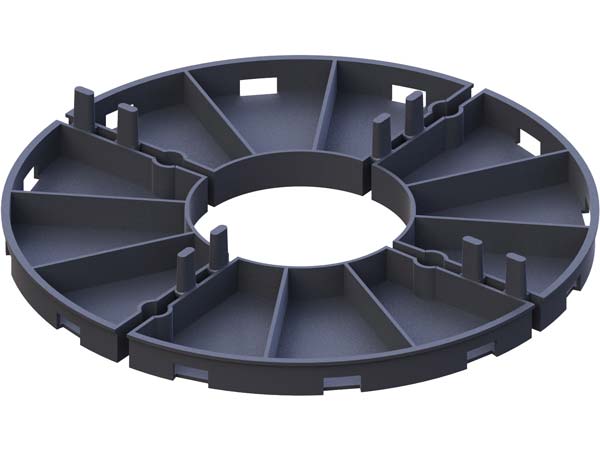
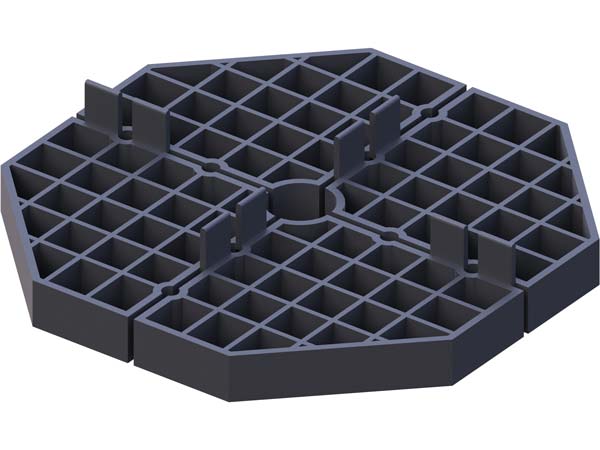
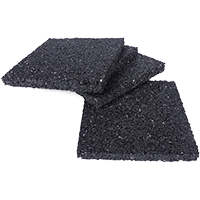
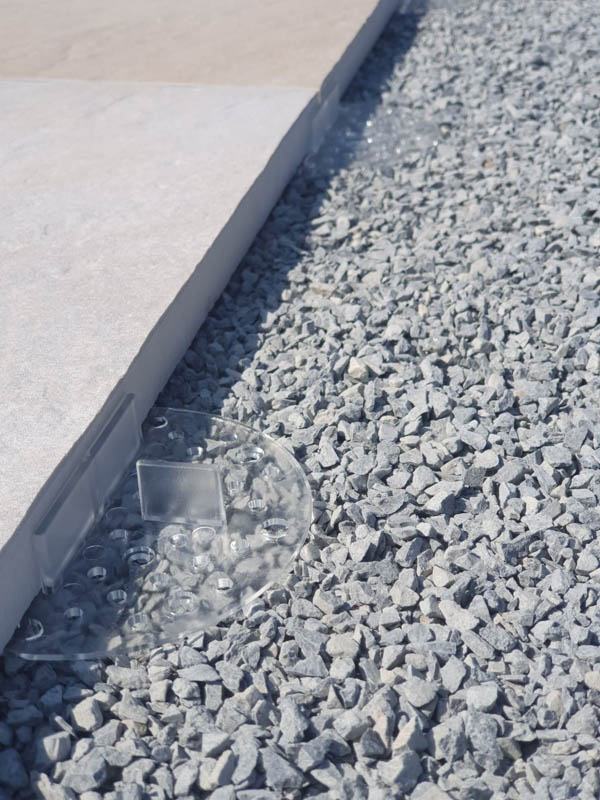
When laying 2 mm support pads, we can choose a version in two colors:
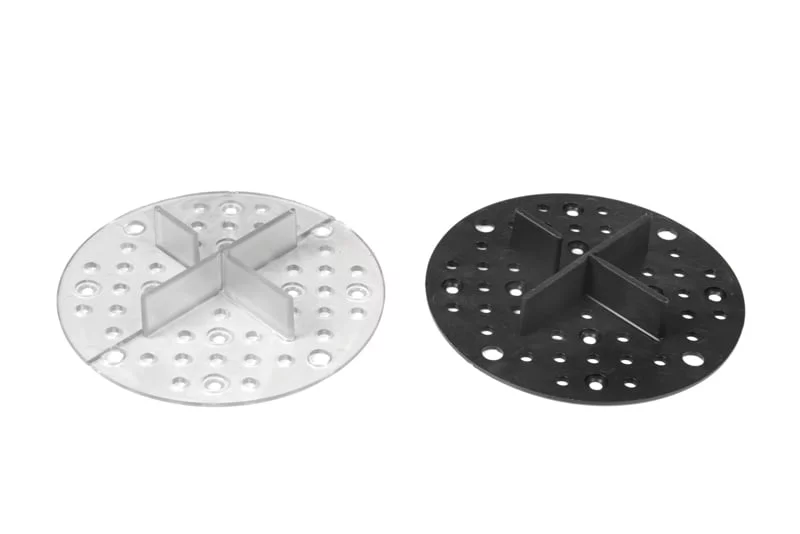
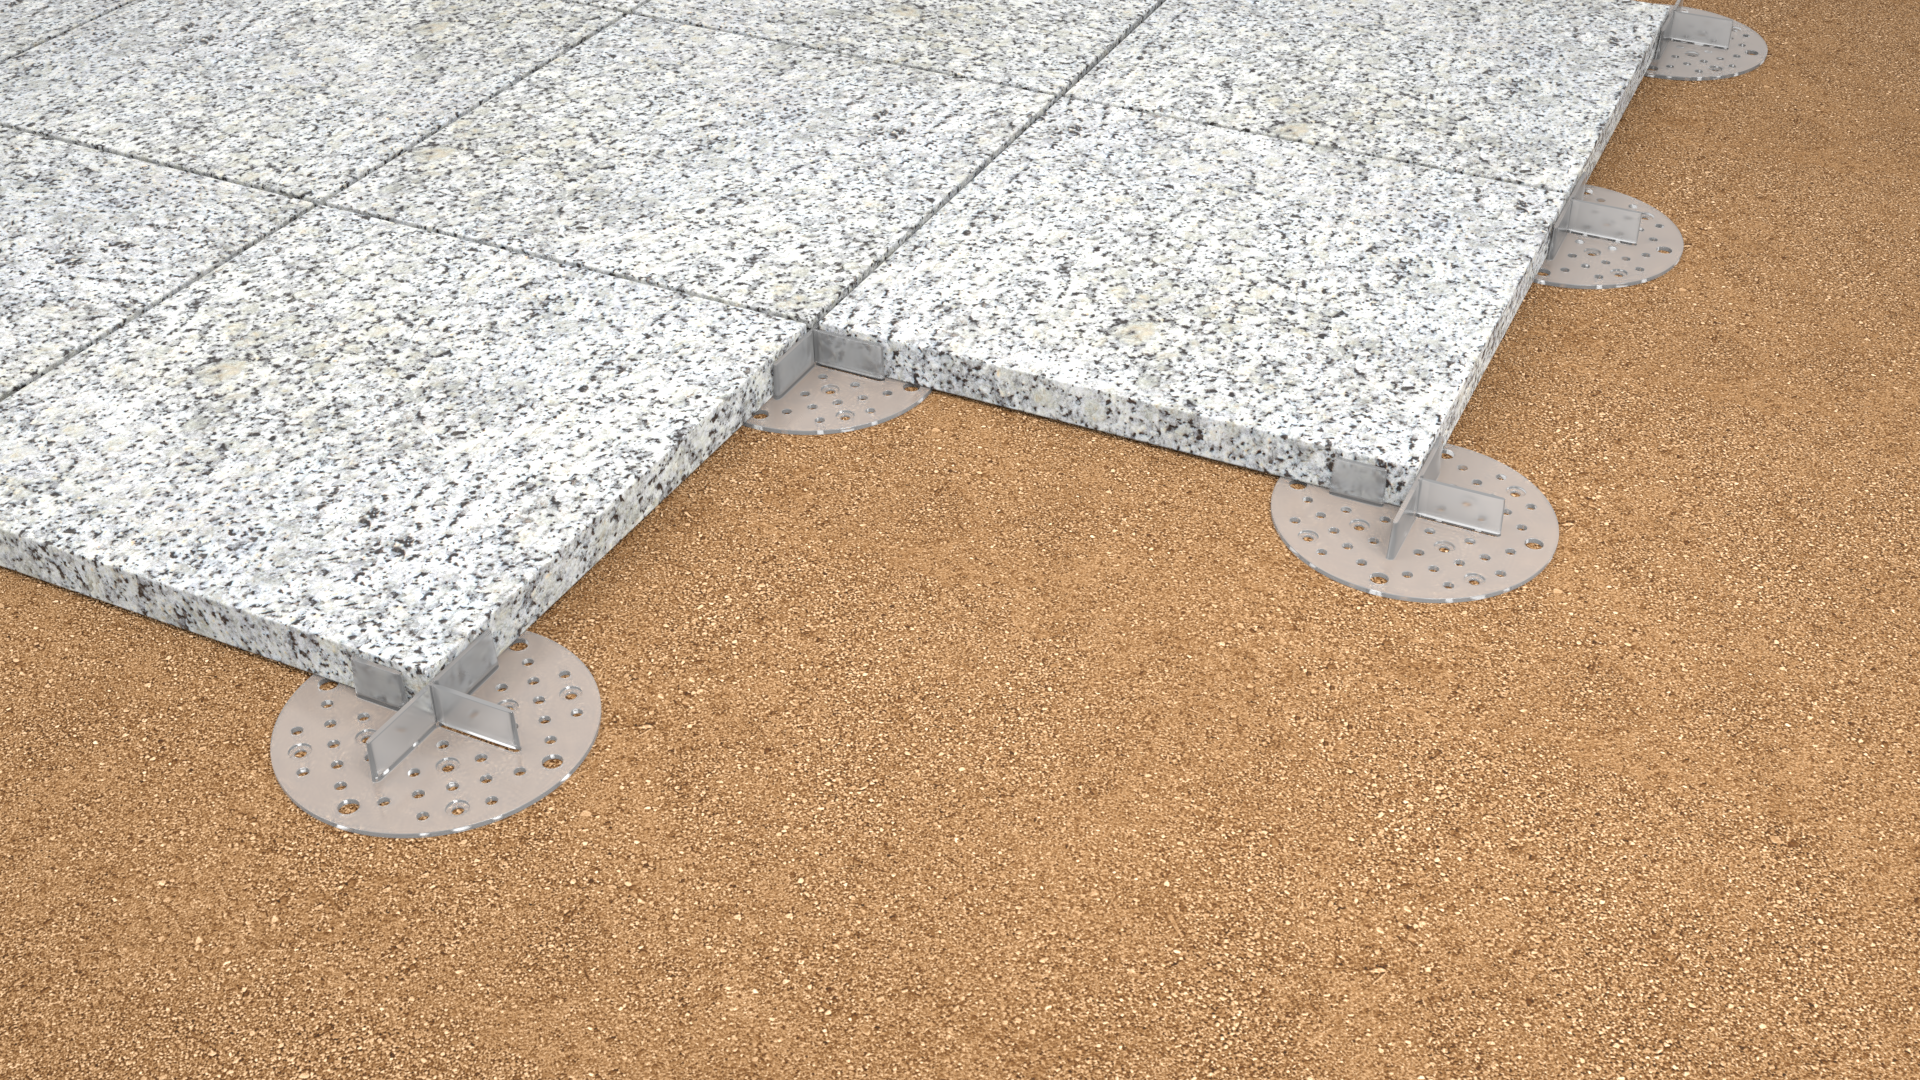
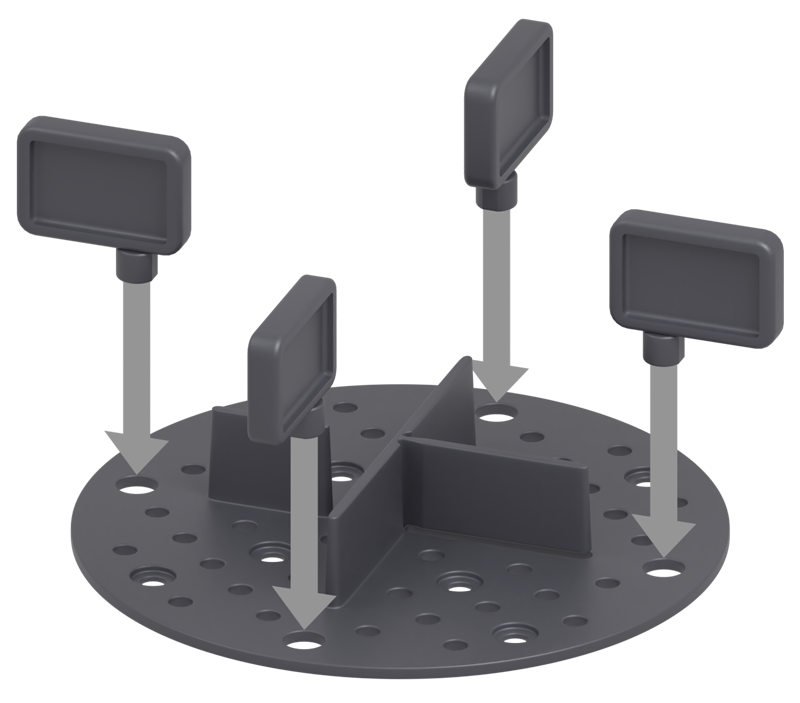
Support pads for laying tiles directly on the gravel have built-in 3 mm joint gaps for marking gaps between tiles, however, you can install additional 5 mm gap spacers. Fo ceramic tiles we recomend 3 mm gap, for concrete and stone slabs - 5 mm.
We do not need to use glue to stabilize the tiles. The tiles, lying freely on the pad, are mounted firmly, but if we find it necessary we can squeeze a small layer under the gres tiles and put the board on this layer. It is worth having a durable frost-resistant glue.

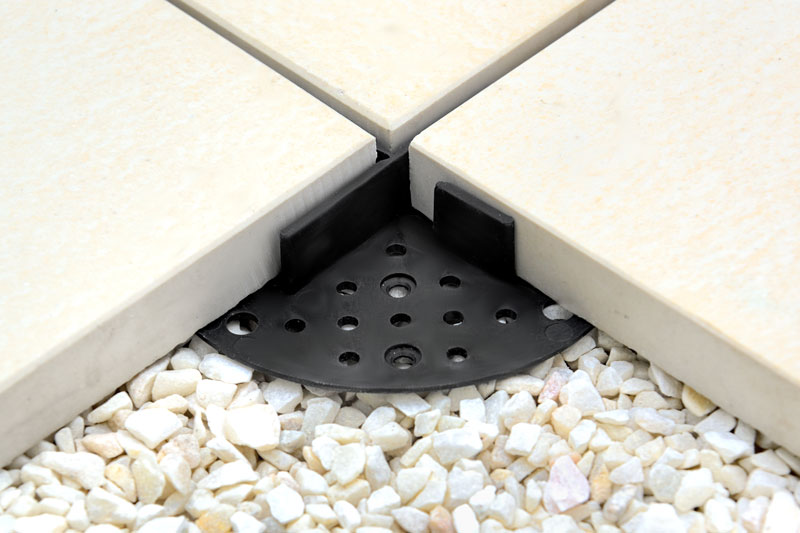
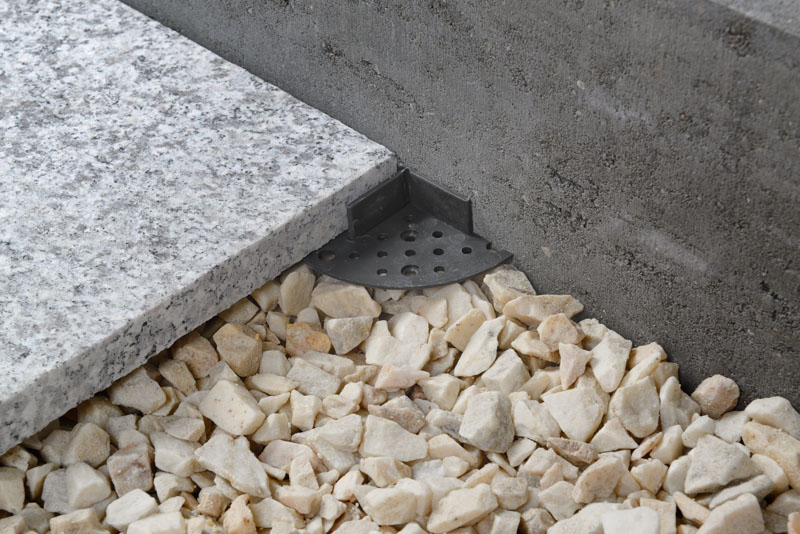
Thanks to special holes in the base, support pads can be anchored in the gravel layer.
We can easily break 2 mm support pads in half or quarter to lay them on the edges or near the vertical elements (like walls, balustrade or others).

At the end of the work, you can use fine sand gravel to fill the gaps between the pavers, but it is not necessary. The tiles can lie with empty slots because they are so small that nothing should get stuck in there.
Summarizing:
choose wisely what type of flooring will suit your needs
when starting work, have a ready plan for the distribution of tiles,
under the terrace there should be all the installations you want to hide
the final appearance depends on the careful placement,
measure each tile in several directions with a spirit level. Make sure you place it evenly,
remember- the thicker the gravel layer, the more water could accumulate
If you have any questions about raised terraces, or our products, don't hesitate and contact us directly via email or phone.
Update JULY 6 2024
Check out our complete guidebook page to ventilated terrace technology. Everything about the design, montage and application of terraces on adjustable pedestals and support pads in one place.
It is the only such complete page about raised terrace on the Internet.